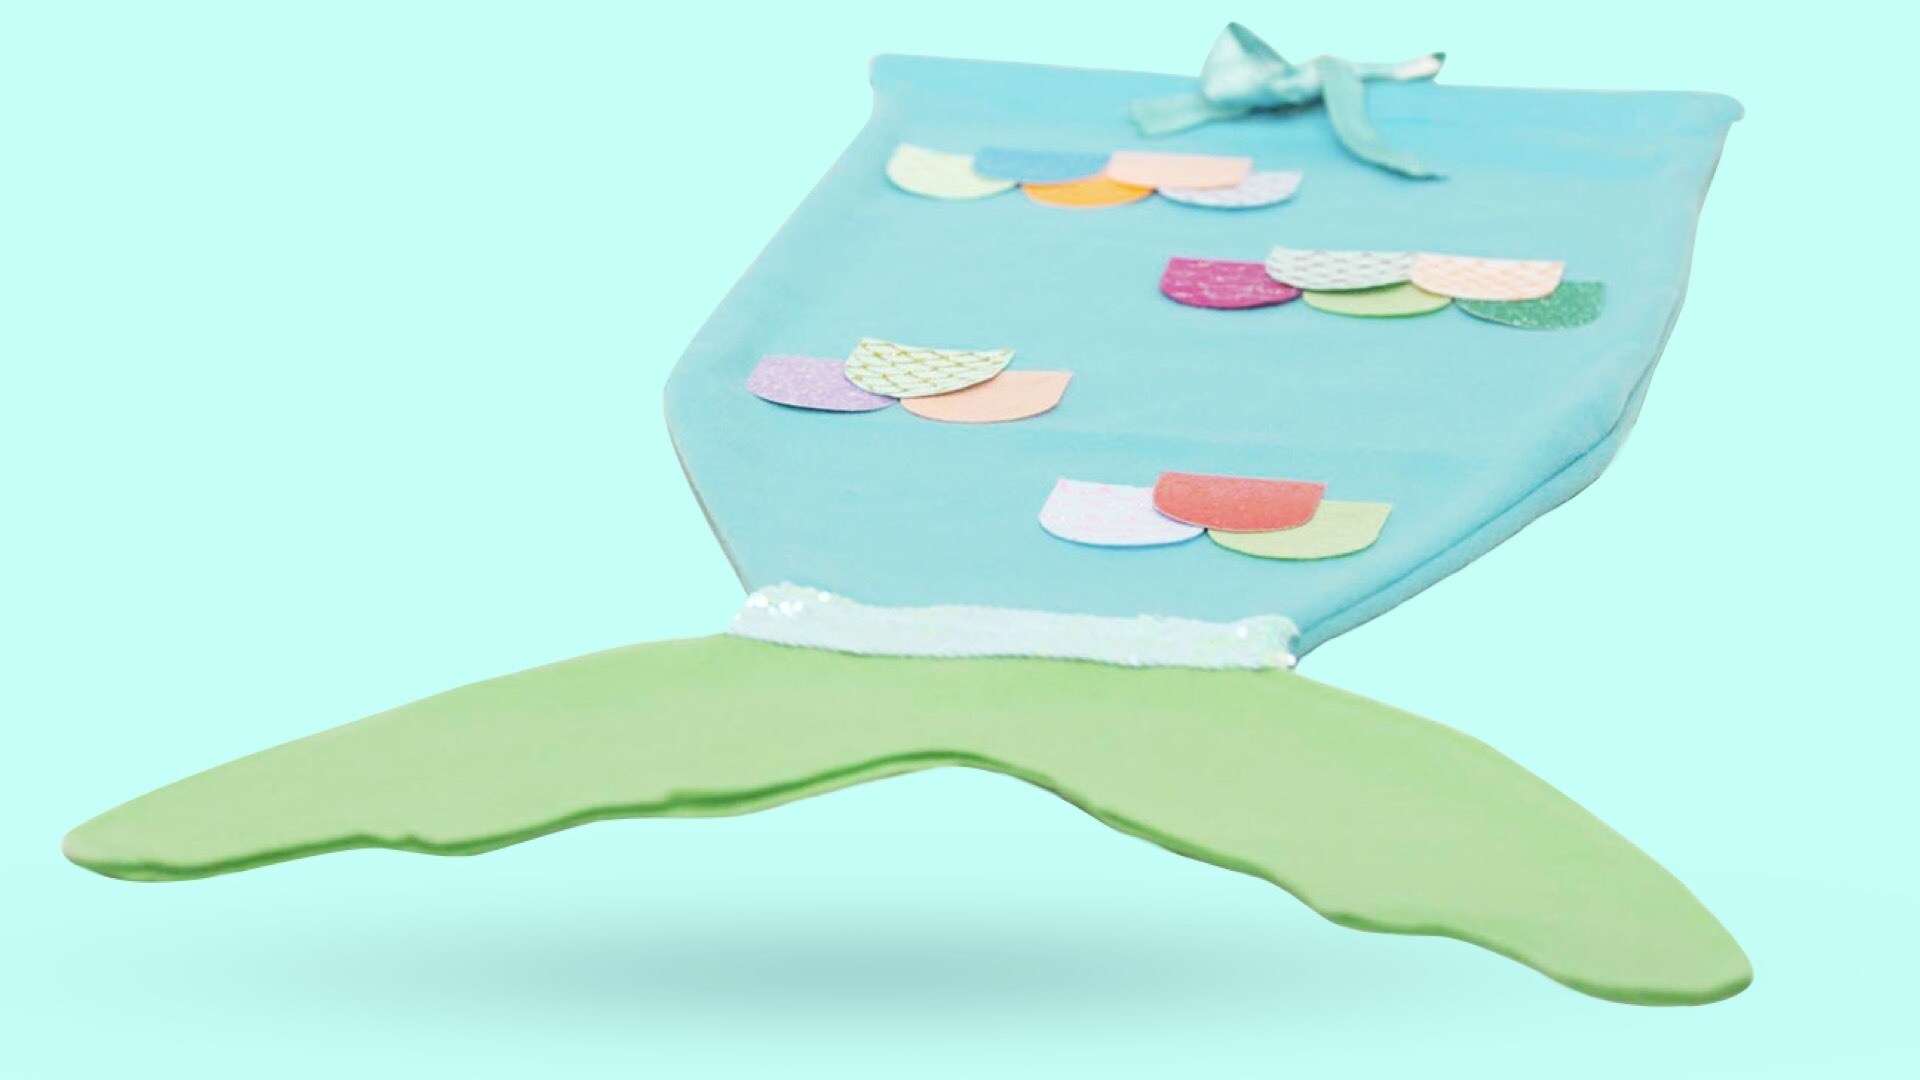
Your kids will love making these mermaid tails a part of their world! This craft is from Disney Family Sundays, an original series on Disney+.
What You’ll Need:
- Measuring tape
- Craft paper
- Pencil
- Fleece fabric
- Hand-drawn mermaid tail template
- Hand-drawn scale template
- Permanent marker
- Glitter cardstock or felt in assorted colors
- Glitter glue
- Ribbon
- Decorative trim
- Straight pins
- Safety pins
- Scissors
- Hot glue
- Sewing machine
How to Make It:
- Measure and create a mermaid tail template. Have your child lay down on a large piece of craft paper and draw around their legs. Use a second piece of craft paper to draw a fin of the mermaid tail to match. Carefully cut out your templates and use them to trace onto the fleece fabric.
- Carefully cut out the fabric. Make sure to cut out 2 layers of fabric to make the front and the back of the mermaid tail.
- Draw an U-shape to create a scale template, and carefully cut out. Trace around the scale template onto glitter cardstock paper or felt. Carefully cut out each scale and have kids decorate with glitter glue.
- Use a sewing machine to sew the two sides of the tail together, leaving about 4 inches unstitched at the top, and the bottom edge open, too. Then sew the fin onto the bottom edge of the tail.
- Fold the top edge over both the front and back of the mermaid tail. Sew the drawstring channel in place with a straight stitch.
- Hot glue the cardstock scales to the front side of the mermaid tail. Line the seam between the large tail and fin with decorative trim.
- Cut two small slits at the center of the drawstring channel.
- Attach a safety pin to the end of a piece of ribbon, and push through the drawstring channel. Use the drawstring to keep the mermaid tail on your child’s waist.
Note: All cutting and hot gluing should be done by an adult. Always supervise children while wearing their mermaid tails.
 disneymagicmoments.co.uk